I have 36 step-by-step photos to share.
So, I think it might be easiest to do this tutorial in parts.
Here is part one.
It will concentrate on cutting out the parts.
Start with two socks.
 You will want longer socks.
I have also found that the thicker the socks are,
the easier they are to work with.
These were a bit thin and stretchy, but they worked.
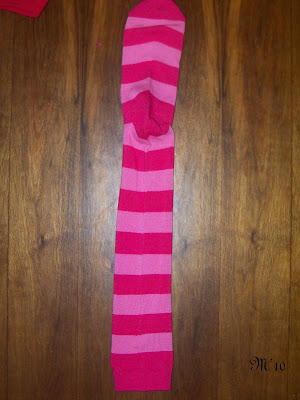 Face the sock like pictured above...
with the heel facing up
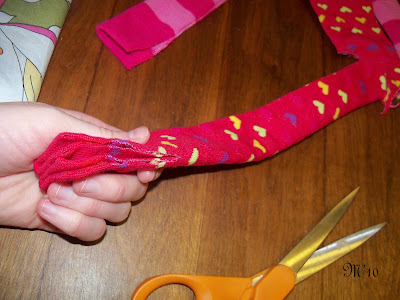
 Fold in half and cut.
 You want the heel to be the "butt",
 so cut up almost to the heel, but not all the way...
so it will sit nicely.
 Take the other sock and cut off the heel for the mouth section.
I ended up using felt for the mouth, but either will work.
 Cut the rest strait off (right above the heel).
This will be the arms.
 Fold in half and cut.
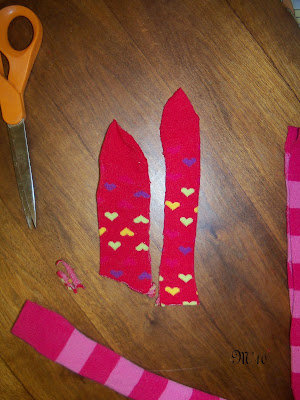 Use leftover section of the arm/mouth sock to cut out the ears and tail.
Toe of sock is used to cut out the tail.You will want to make the tail as long as possible.

You will use the other part to cut out the ears.
 This is what you should have.
One sock makes up the head, body, and legs.
Other sock makes up the arms, tail, ears, and mouth (if you choose).
Part 2...coming soon...:)

 Photo by mominml from allrecipes.com


